Producing video content is a terrific way to add a new dimension to your business. It takes customers behind the scenes, informs them about what you do and helps solve their problems.
But before you invest in costly vlogging equipment, it can pay to experiment on a shoestring budget – if the editing is spot on. Here's how it's done.
Use steady surfaces
Tripods aren't essential if you've got a sturdy stool or kitchen counter; and flat objects like books and bricks can come in handy for adjustments.
For the next stage up, small, flexible tripod options like a GorillaPod or using a clamp system are affordable and can be positioned on a wider range of surfaces – such as handrails, doors, flowerbeds and rocks.
Keep it quiet
Audio can make or break your video. Try to film in a quiet, enclosed space that has carpet, curtains or lower ceilings to avoid echoes. Point your camera or mic away from windows and switch off electronics to prevent interference.
For even better results, a directional mic like the RØDE VideoMic is a good budget option that plugs straight into a DSLR.
Go au naturel
Record in a conservatory or in front of a south-facing window during daylight hours for an ideal alternative to expensive lighting equipment.
If that doesn't work, look at new bulbs for your ceiling, table or floor lamps. Choose a bright (50W plus) bulb and plan your colour temperature. Stay below 3000K for warm, indoor shots, and around 6000K for a natural, outdoor feel.
Shoot short shots
Divide your video idea up into a series of short shots (or lines) to save yourself a lot of time and trouble when you edit.
Include a mix of medium or wide shots (at least the torso and head of the subject) and close-ups (face only) to make the video look professional.
Now you have shot your masterpiece, it’s time to edit. Editing your vlog requires discipline, time management and a clear idea of what the last version should look like. But with a few handy tips, anyone can get the job done to an excellent standard.
Shoot for the edit
A short script or storyboard will help you decide exactly what shots you'll need for the finished vlog, and give you a guide on how to piece them together. Don't film too many takes 'for safety', as you're just creating more work for yourself at the editing stage.
Choose your style
Some vloggers opt for choppy, quick-cut videos where the edits are obvious. Others use subtle cuts to give the illusion of a single take. Know what you want from your edit before jumping in.
Plan your schedule
Editing is one of those jobs that can take as long as you let it. Make sure it doesn't dominate your day by setting a time limit. Remember to factor in plenty of time to render, export and upload your video.
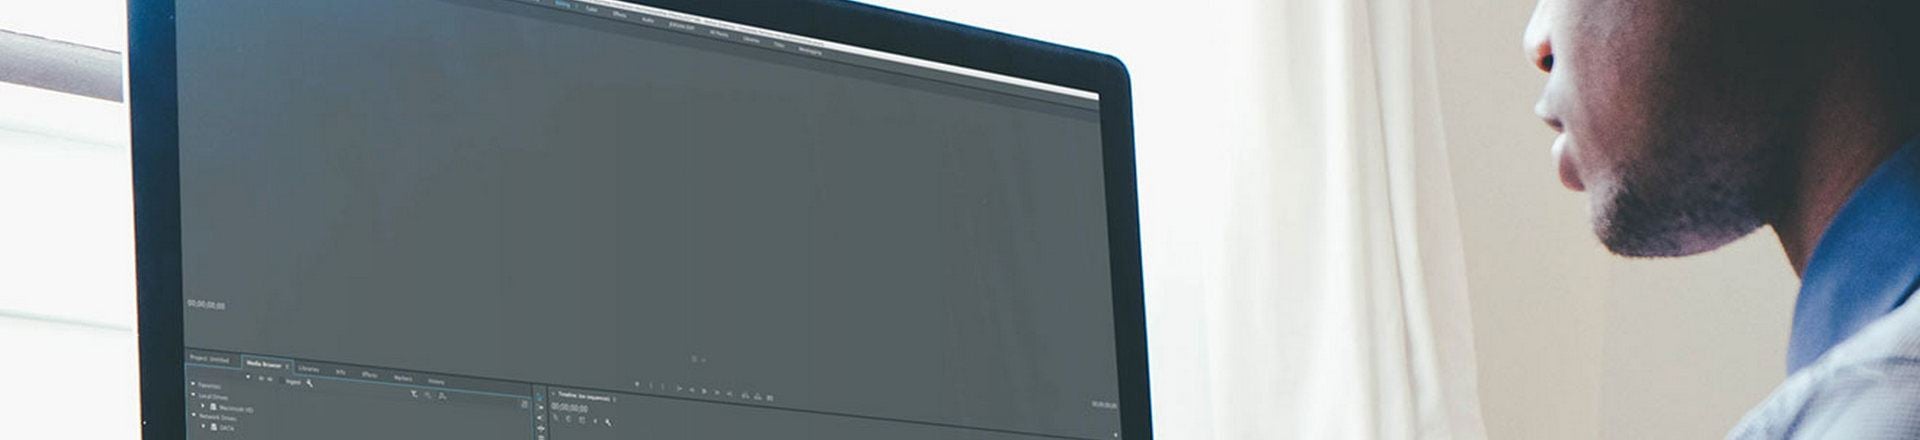
Import your images
When you've dropped all your clips and extra bits into your editing software, sort them into folders and label them. There's nothing worse than not knowing where anything is when you need to make tweaks.
Cut your clips
Be careful with how much screen time each shot gets. Using a single angle for a long time can quickly bore viewers, so aim to make your video as dynamic as possible.
Sort your sequencing
Sequencing is about using wide, medium and tight (close-up) shots to tell a story. Generally, wide shots set the scene, medium show action and close-ups convey emotion or detail. Switching between the three also compresses time, because viewers automatically assume that time passes in a cut between shots.
Export for upload
There are many video formats to choose from when exporting your finished video – h.264 is commonly thought to deliver the best quality. Whatever format you select, you can always convert it later to reduce file size or optimise for sites like YouTube by using freeware like MPEG Streamclip.
The editing stage not only gives you the opportunity to fine-tune your vlogs, it also allows you to add extra fun and personality. Once you've mastered the basic techniques, you’ll be producing creative and engaging video content for your business in no time.
And if you want to put these skills to use, find out how to create your own Instagram tutorials in our step-by-step guide.